继续拆聚光镜和灯泡部分,要卸掉铁盒上的螺钉才能打开,详见图19所示。

拆除铁盖后露出灯泡和聚光镜部分,详见图20所示。

从外观就能看到灯泡发黑老化,继续使用亮度肯定达不到要求,需拆卸下来更换新的,详见图21所示。

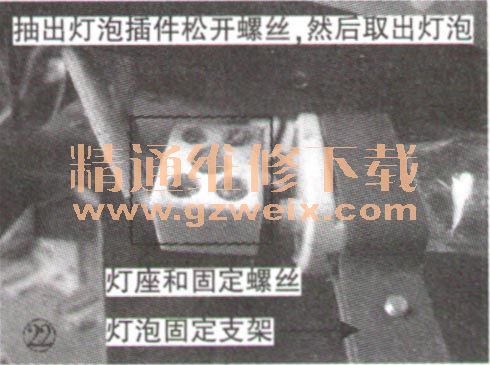
要拆掉灯泡就要把固定灯座和固定灯泡的螺钉松开,详见图22所示。
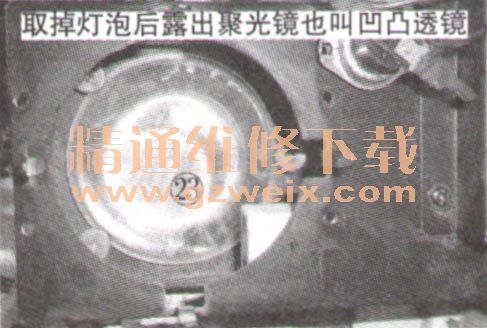
取掉灯泡后露出聚光镜也叫凹凸透镜,松开上面的4颗螺丝可取出清洗,详见图23所示。
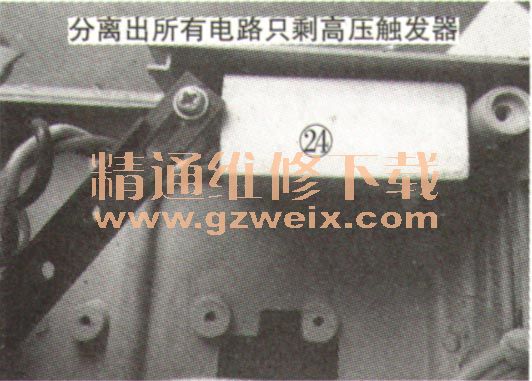
把高压触发器固定螺丝卸掉,所有部件全部拆下,外壳就可以拿去清洗,详见图24所示。
第二步:清洗
首先清洗3只风扇,涡轮风扇必须拆开清洗,详见图25所示。

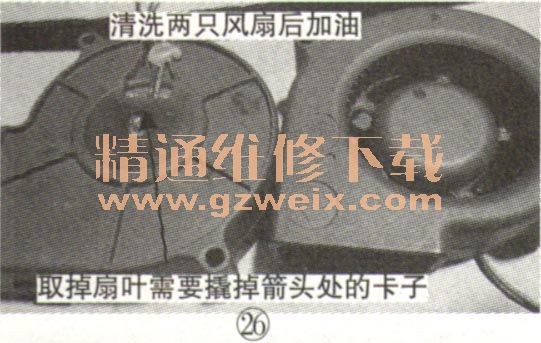
清洗干净后还要给风扇轴承加油保养,详见图26所示。
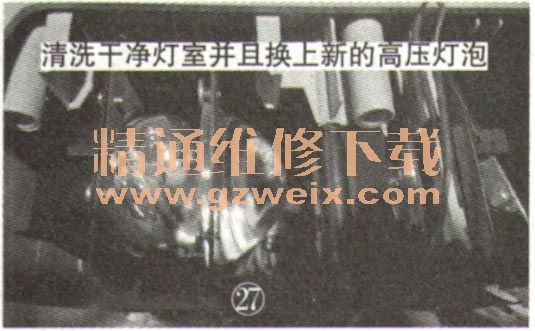
清洗灯室部分的聚光凸镜,清洗干净装入,并且把灯泡和反光碗全换新,详见图27所示。
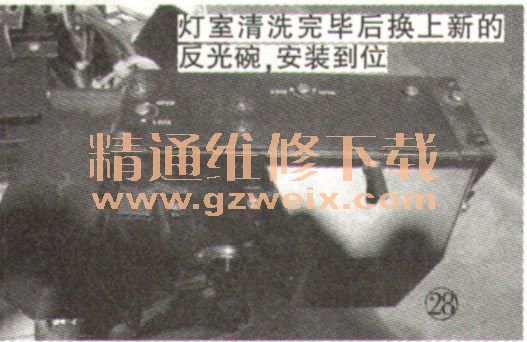
已经安装好的灯室,详见图28所示。
上一页 [1] [2] [3] 下一页


